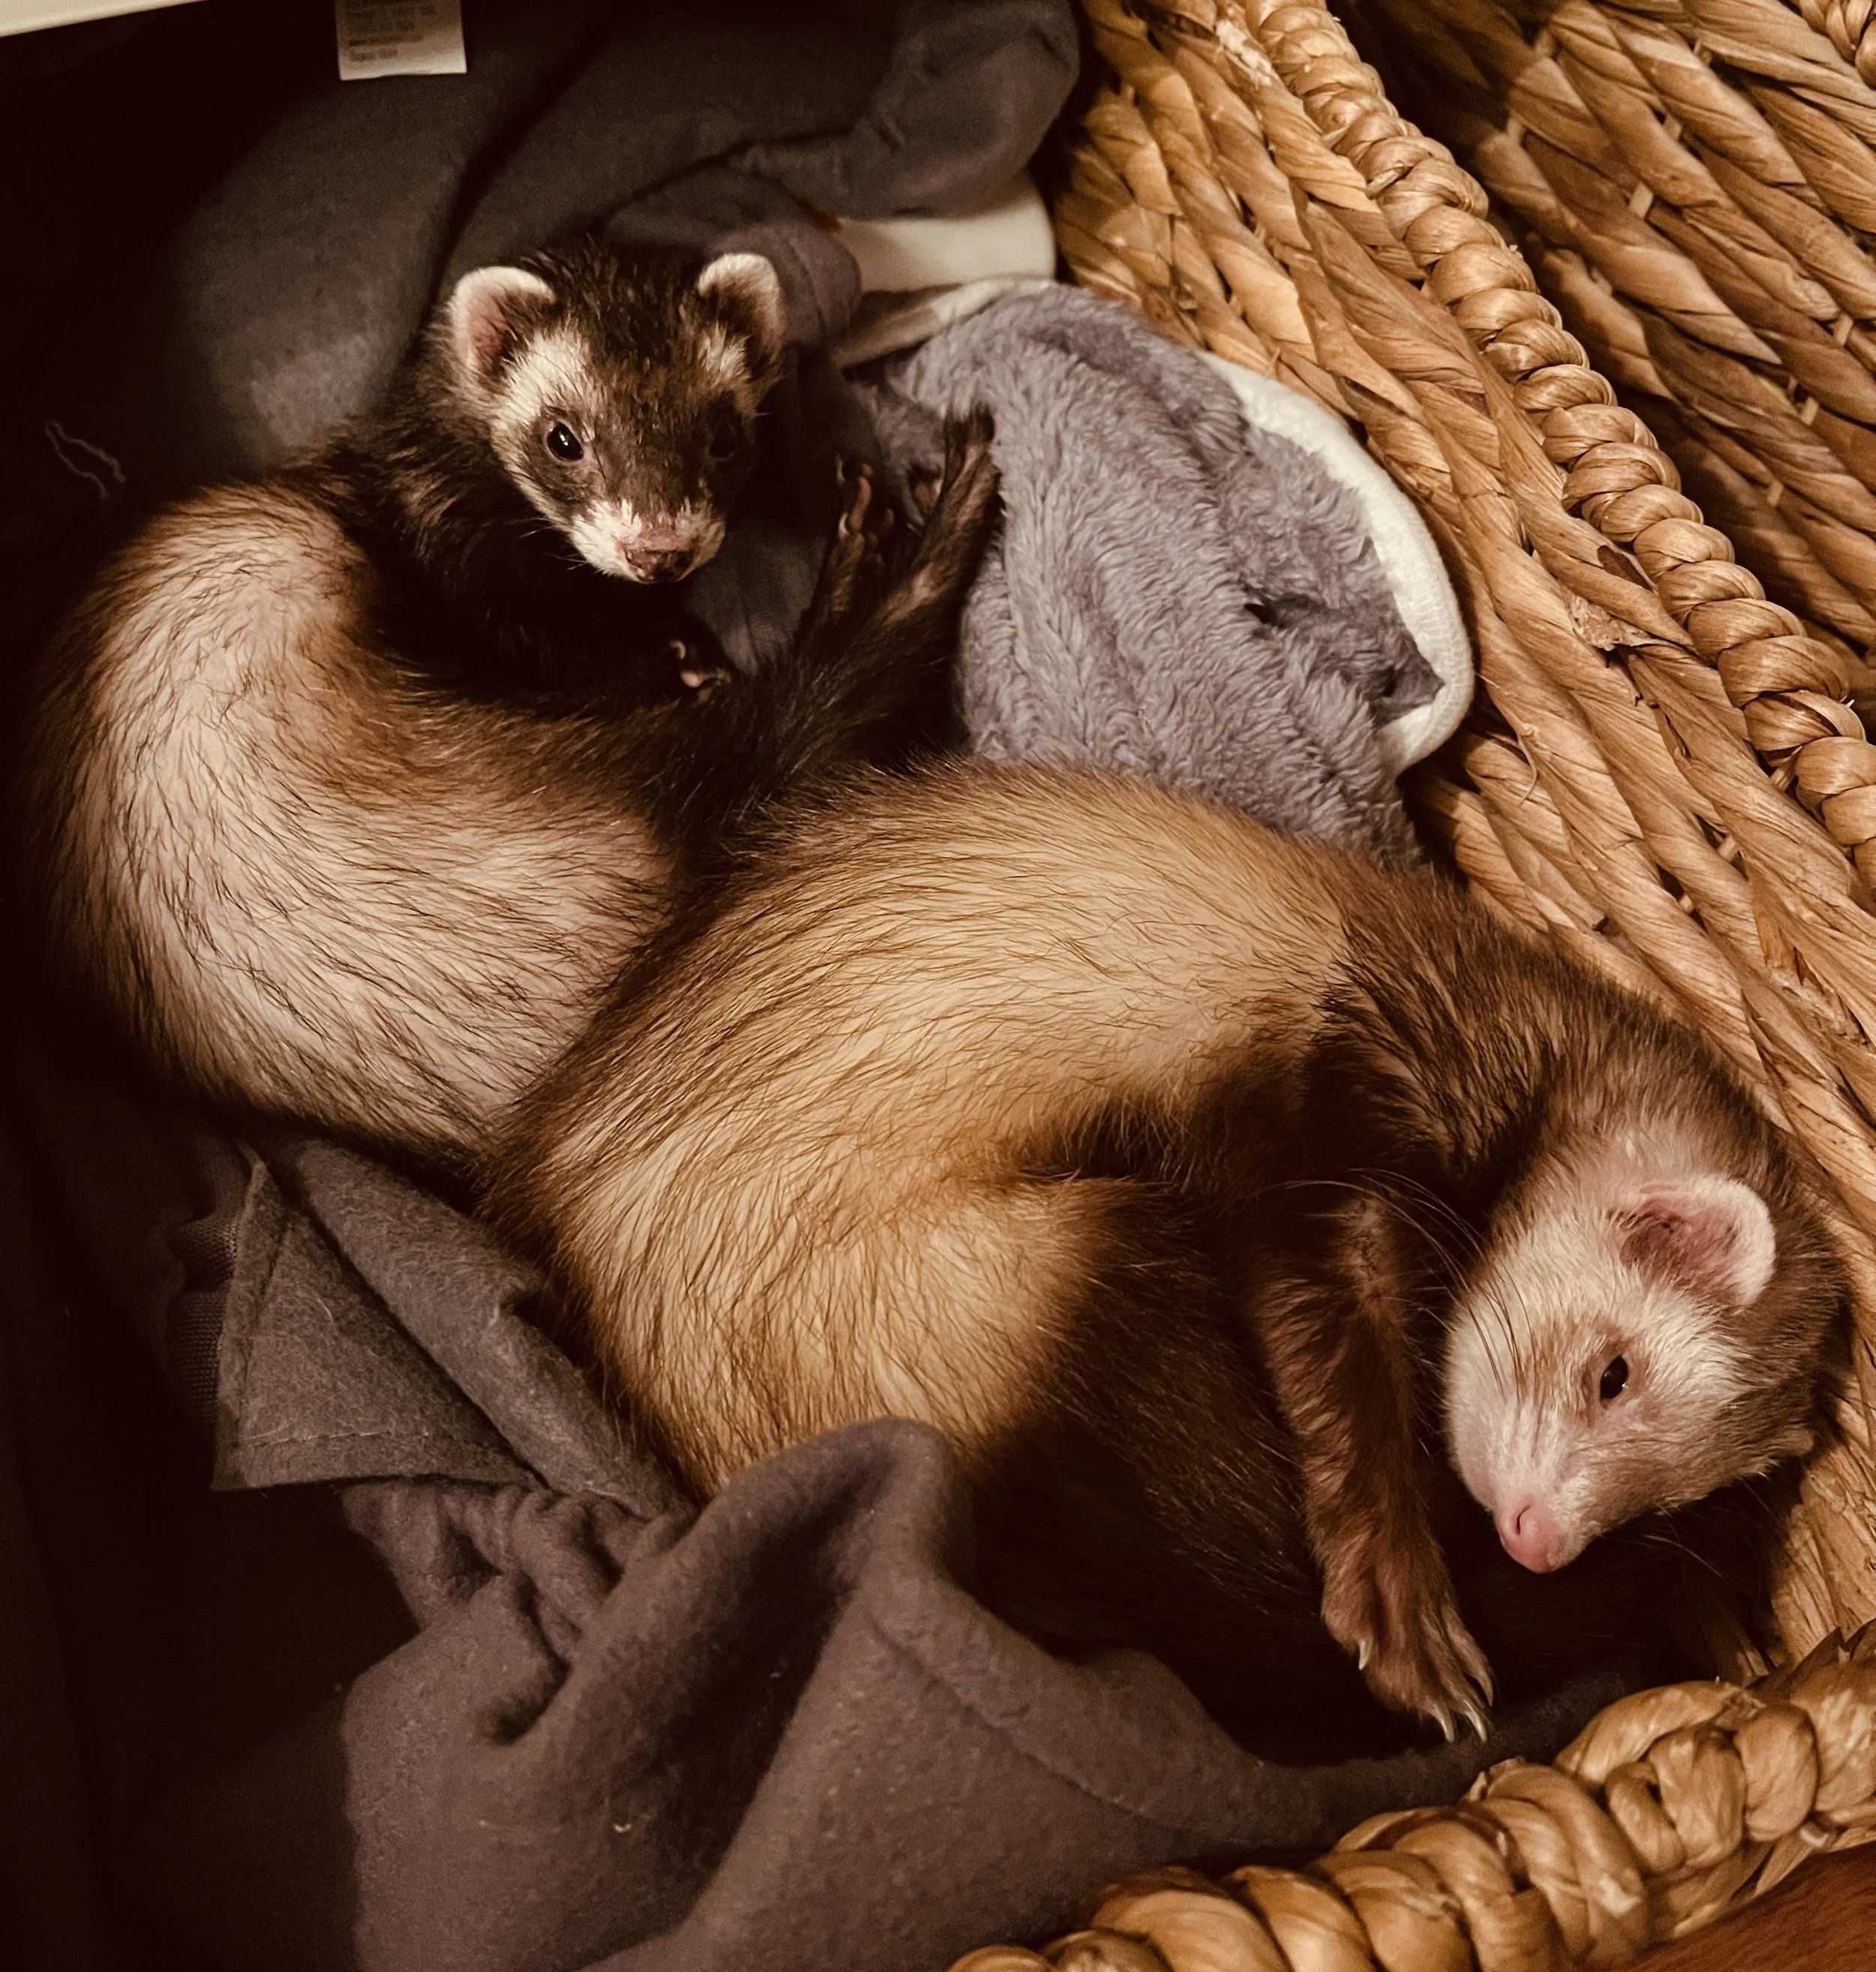
Ferretopia
Because if I’m gonna have ferrets, I’m gonna make their enclosure niiiiiiiiiiiiice…
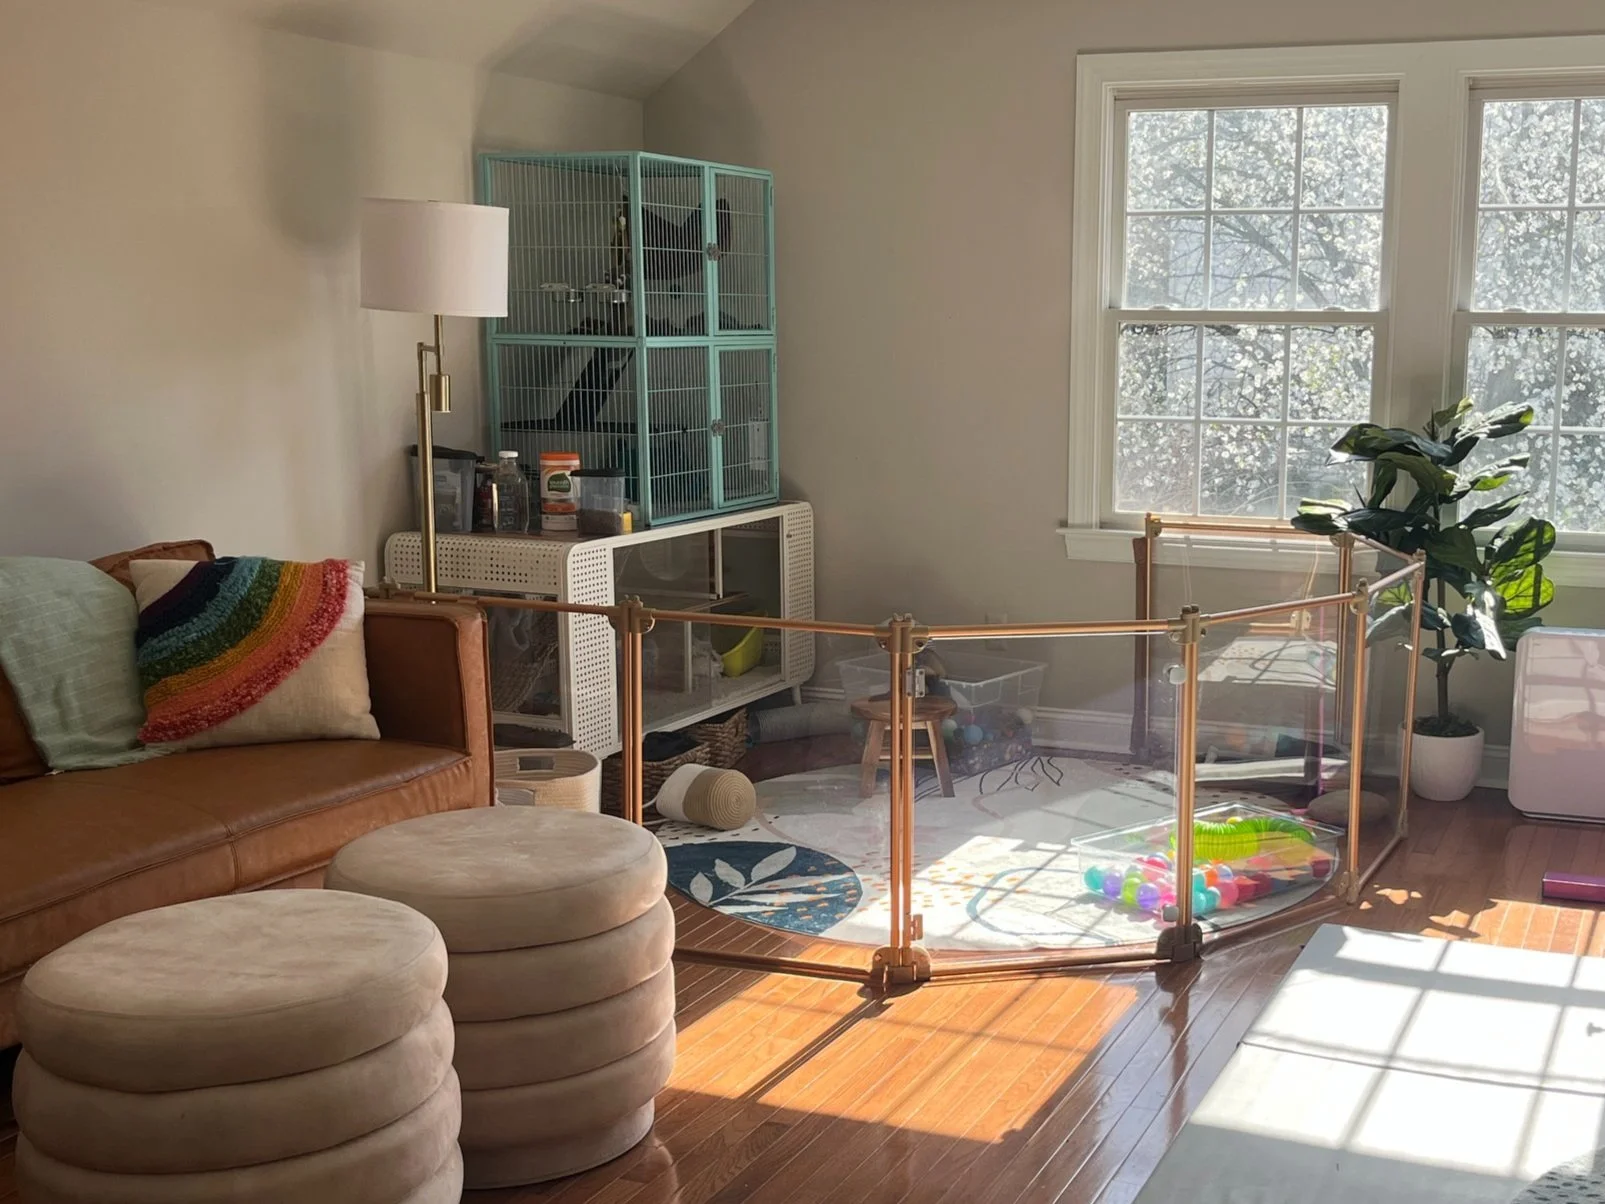
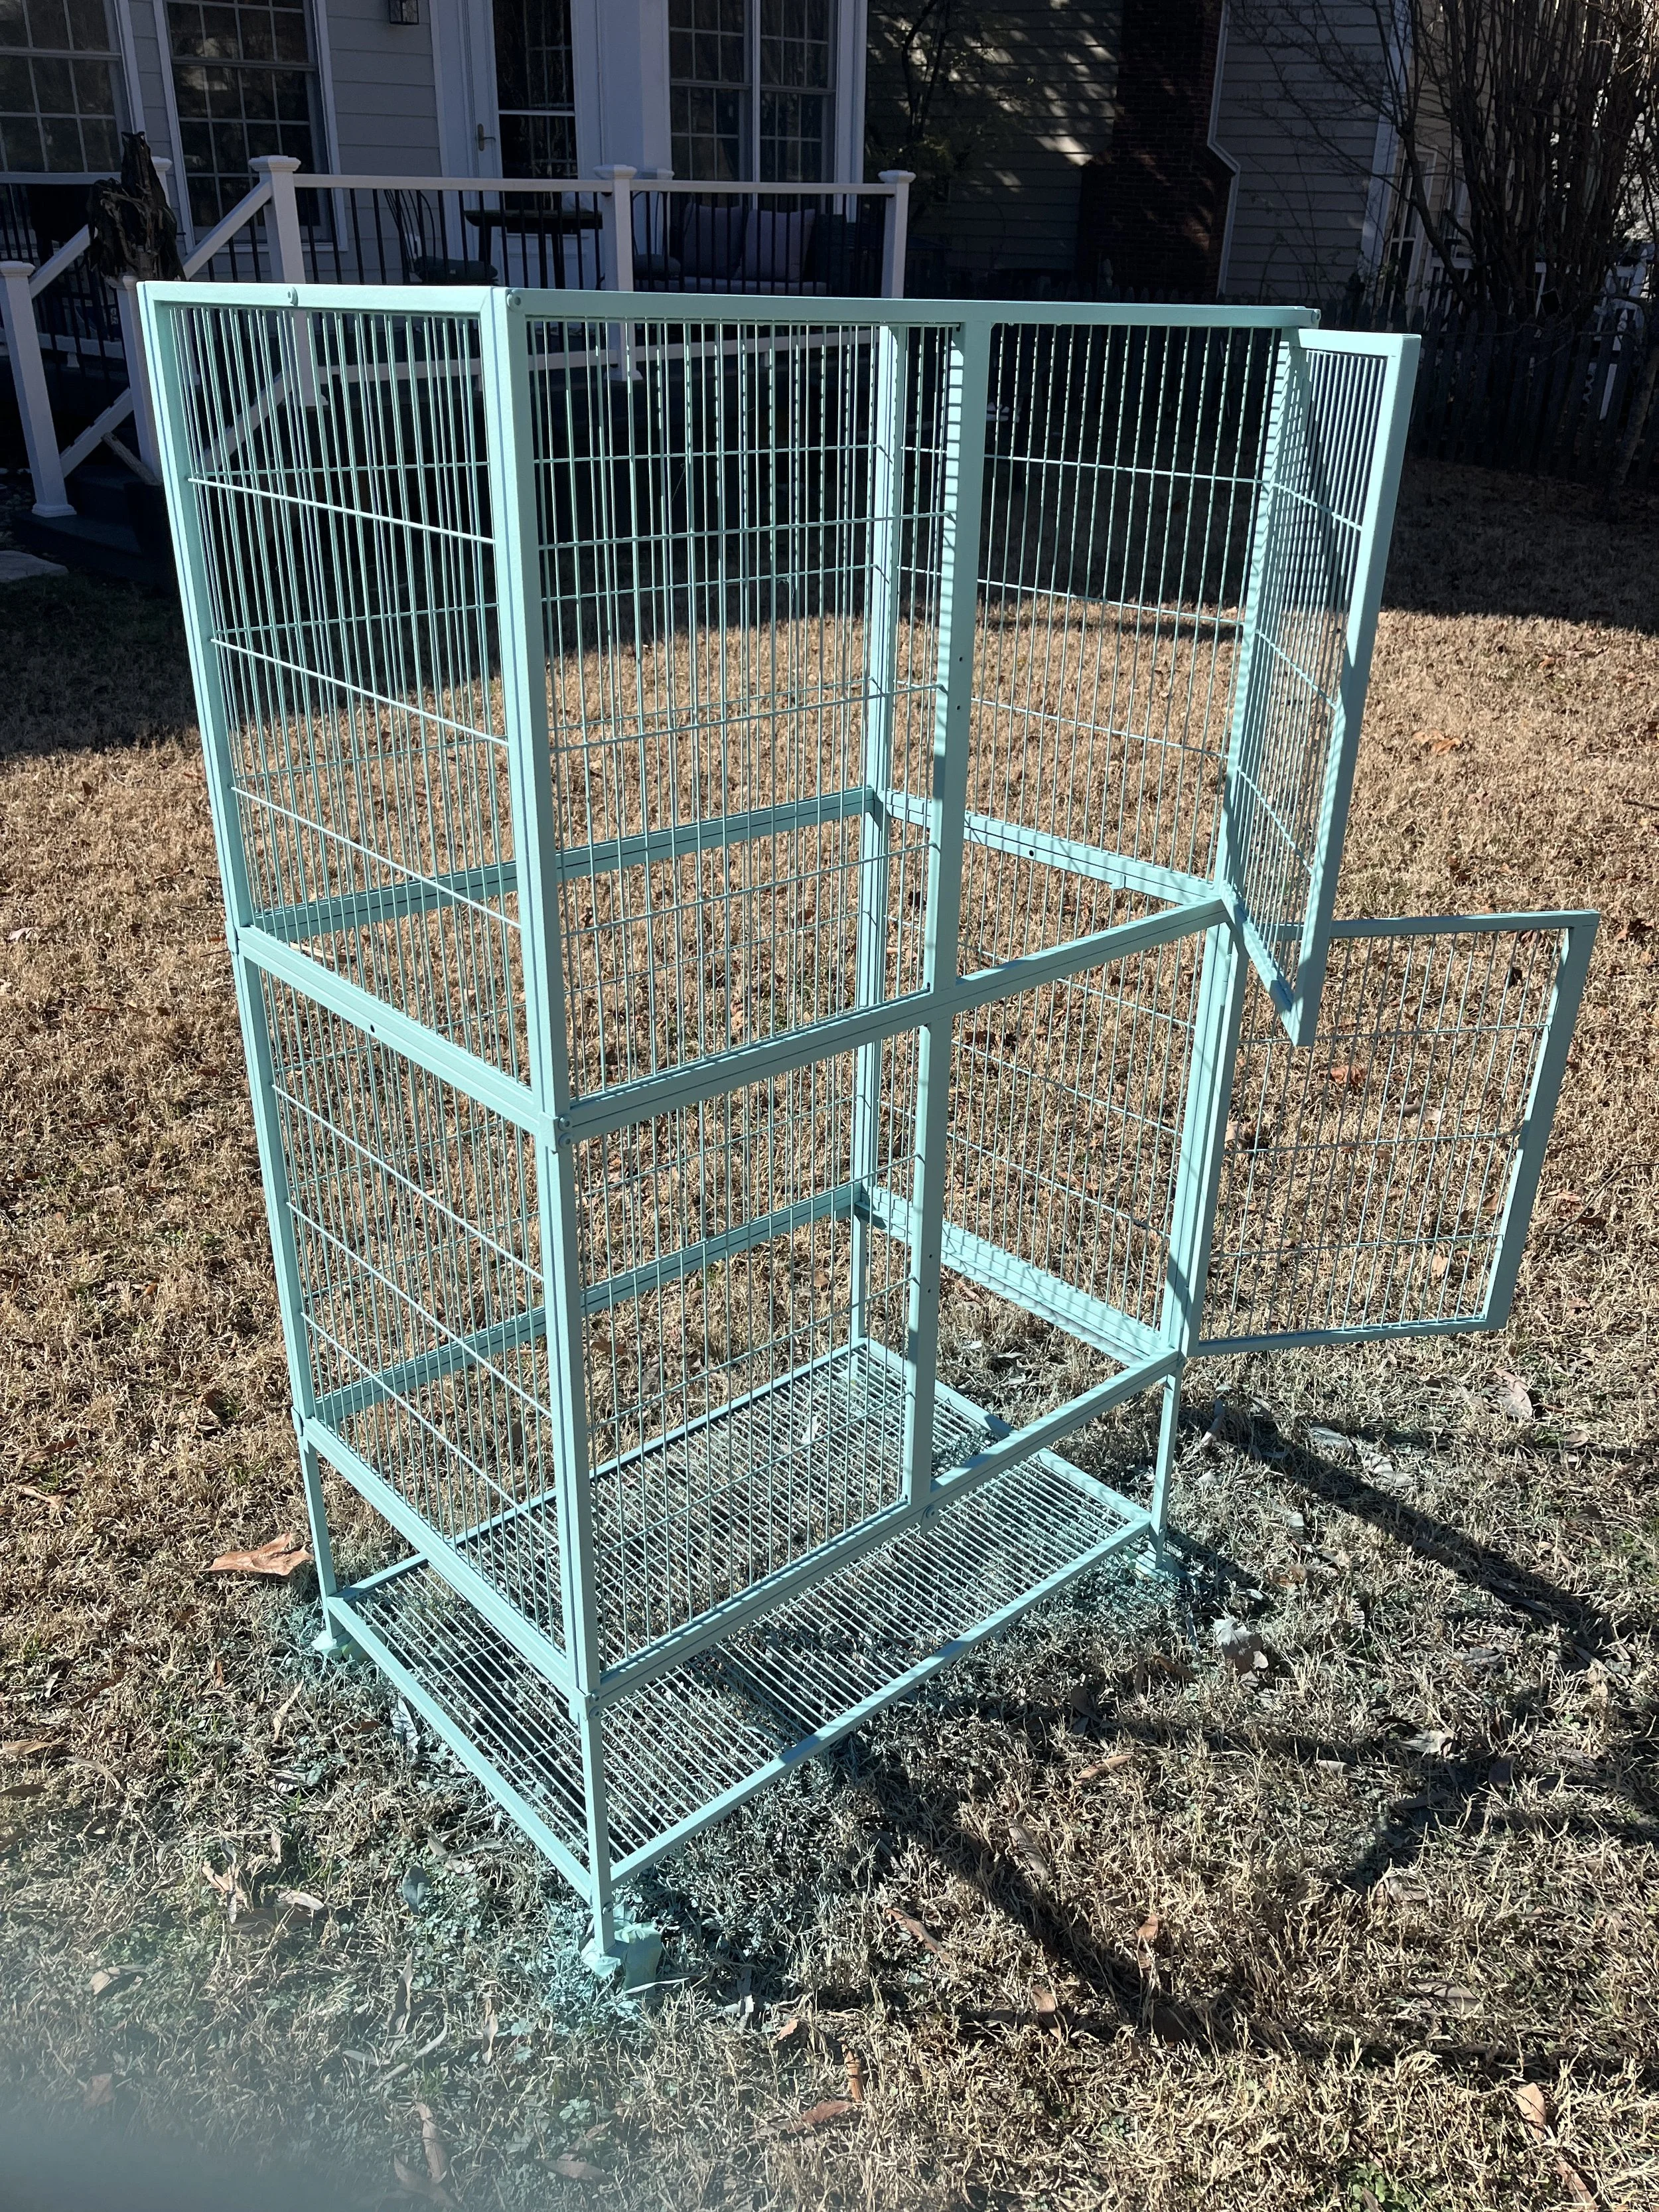
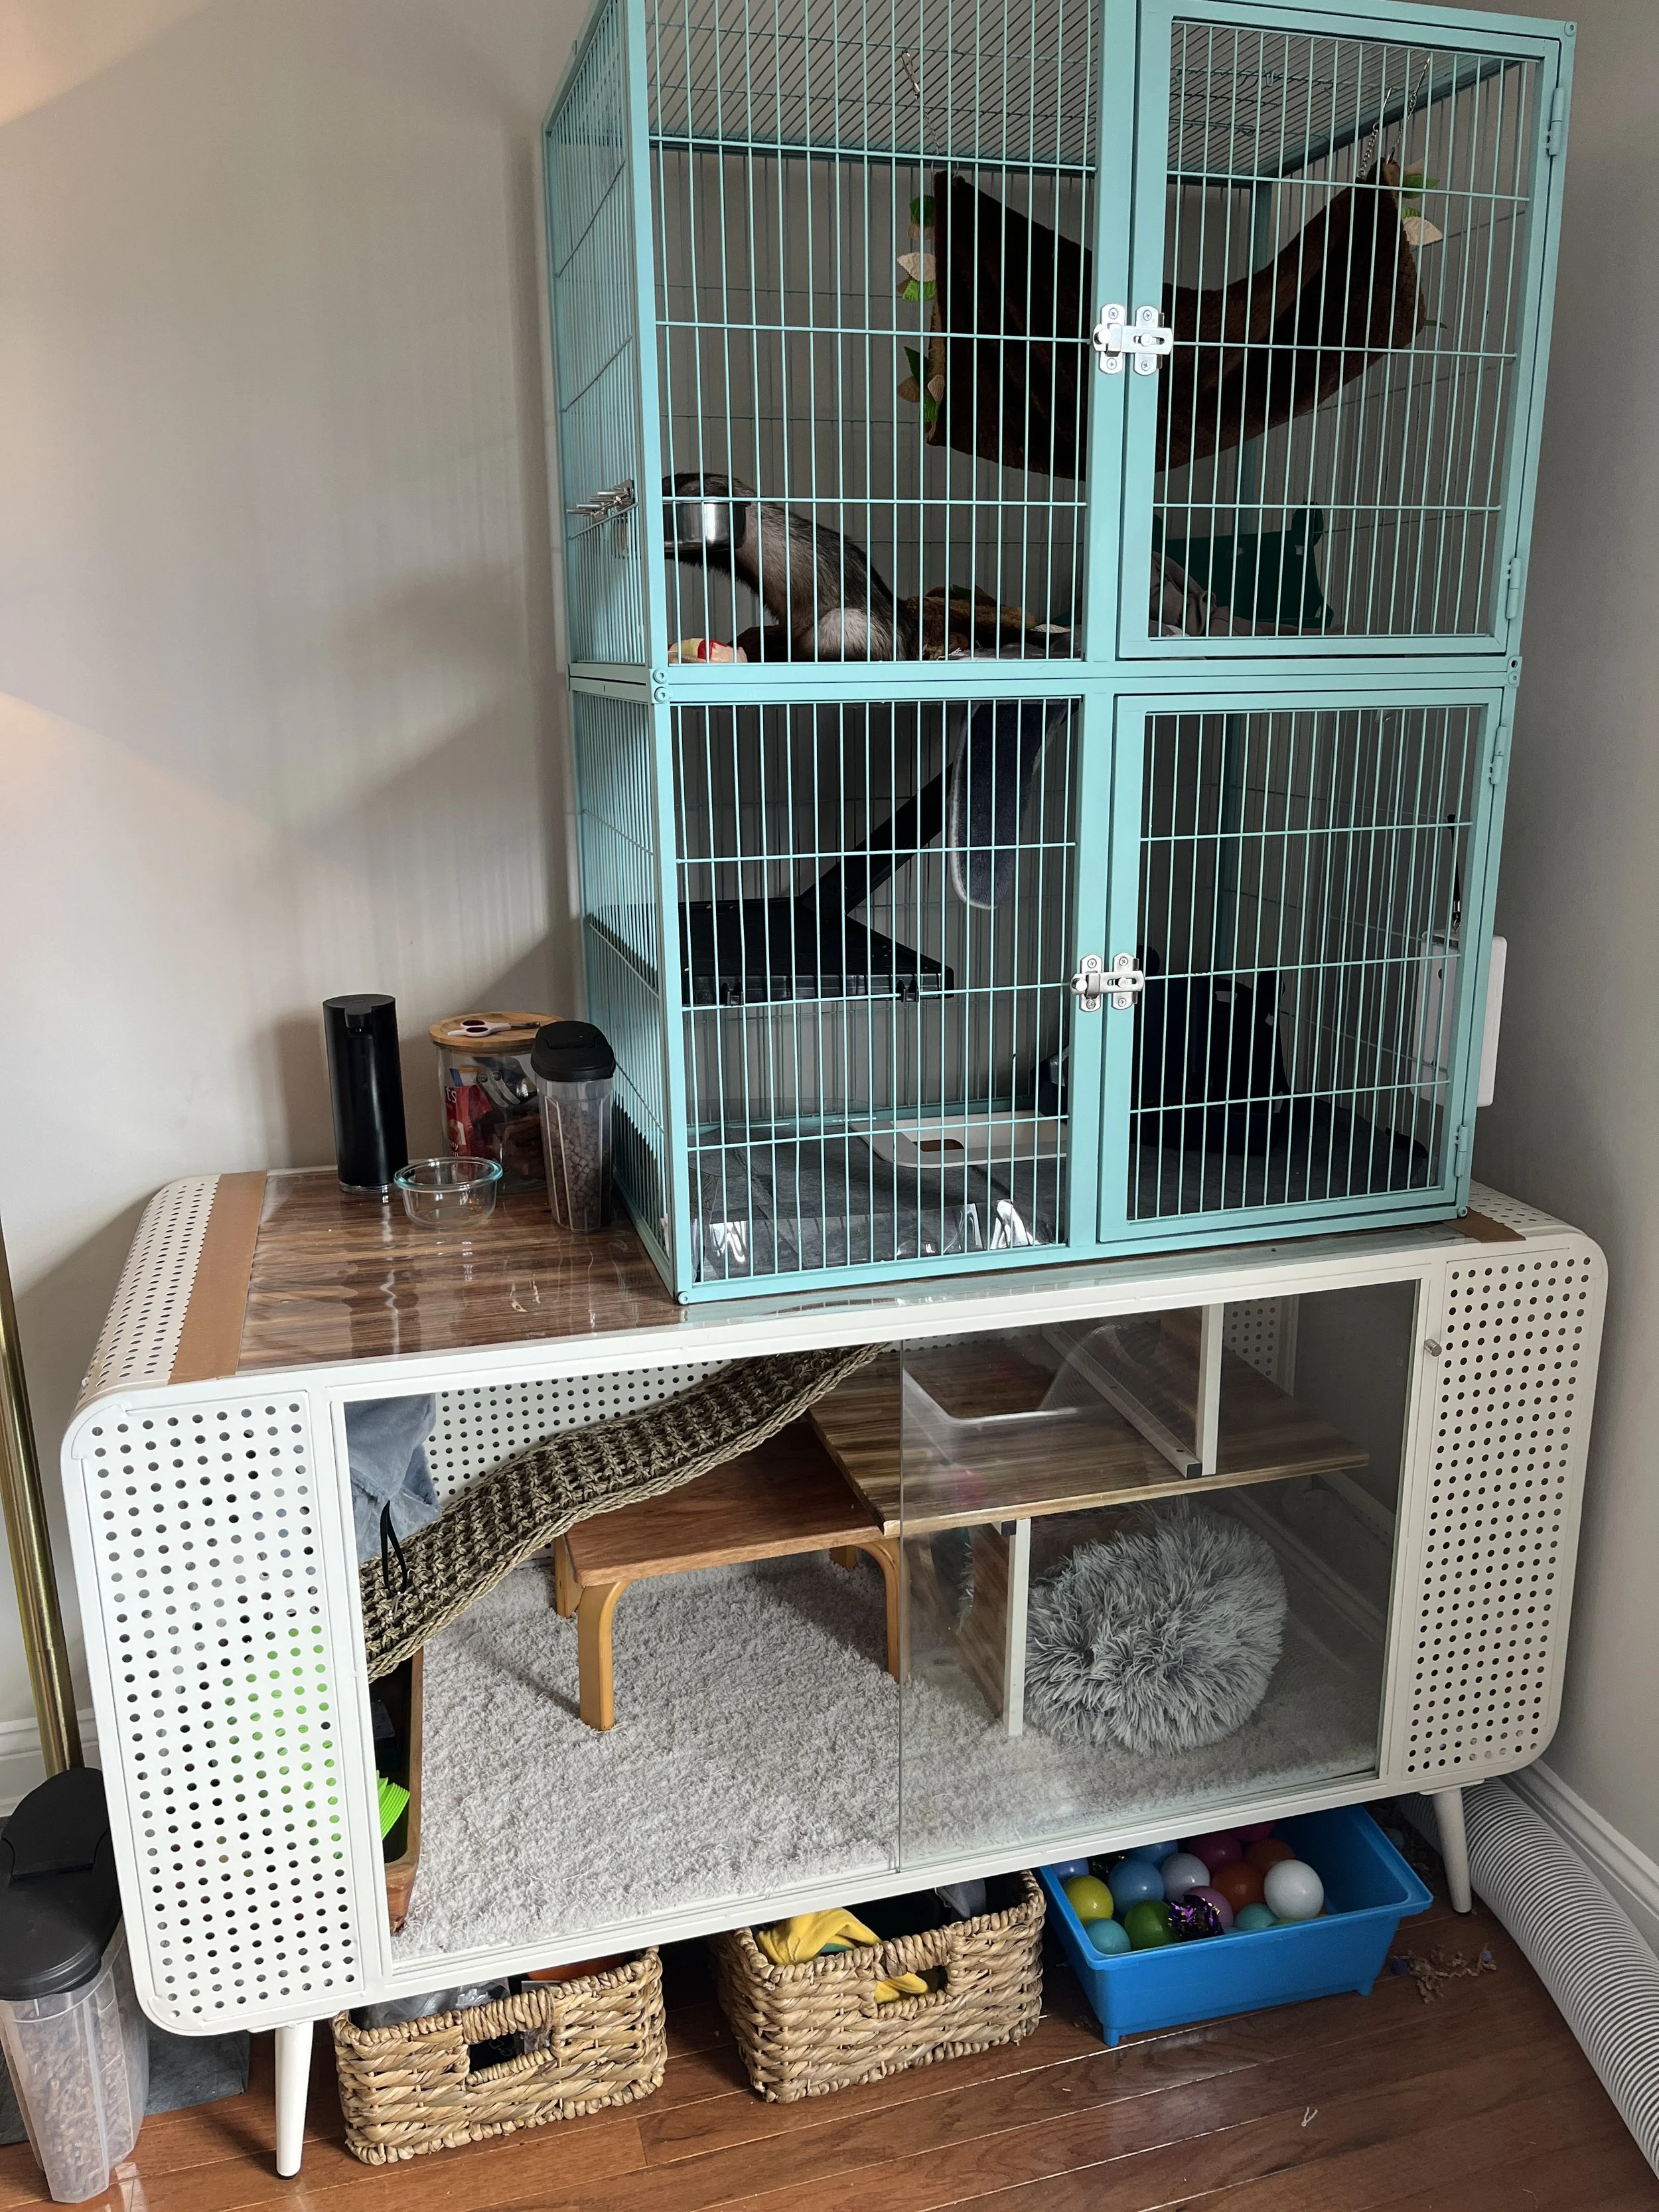

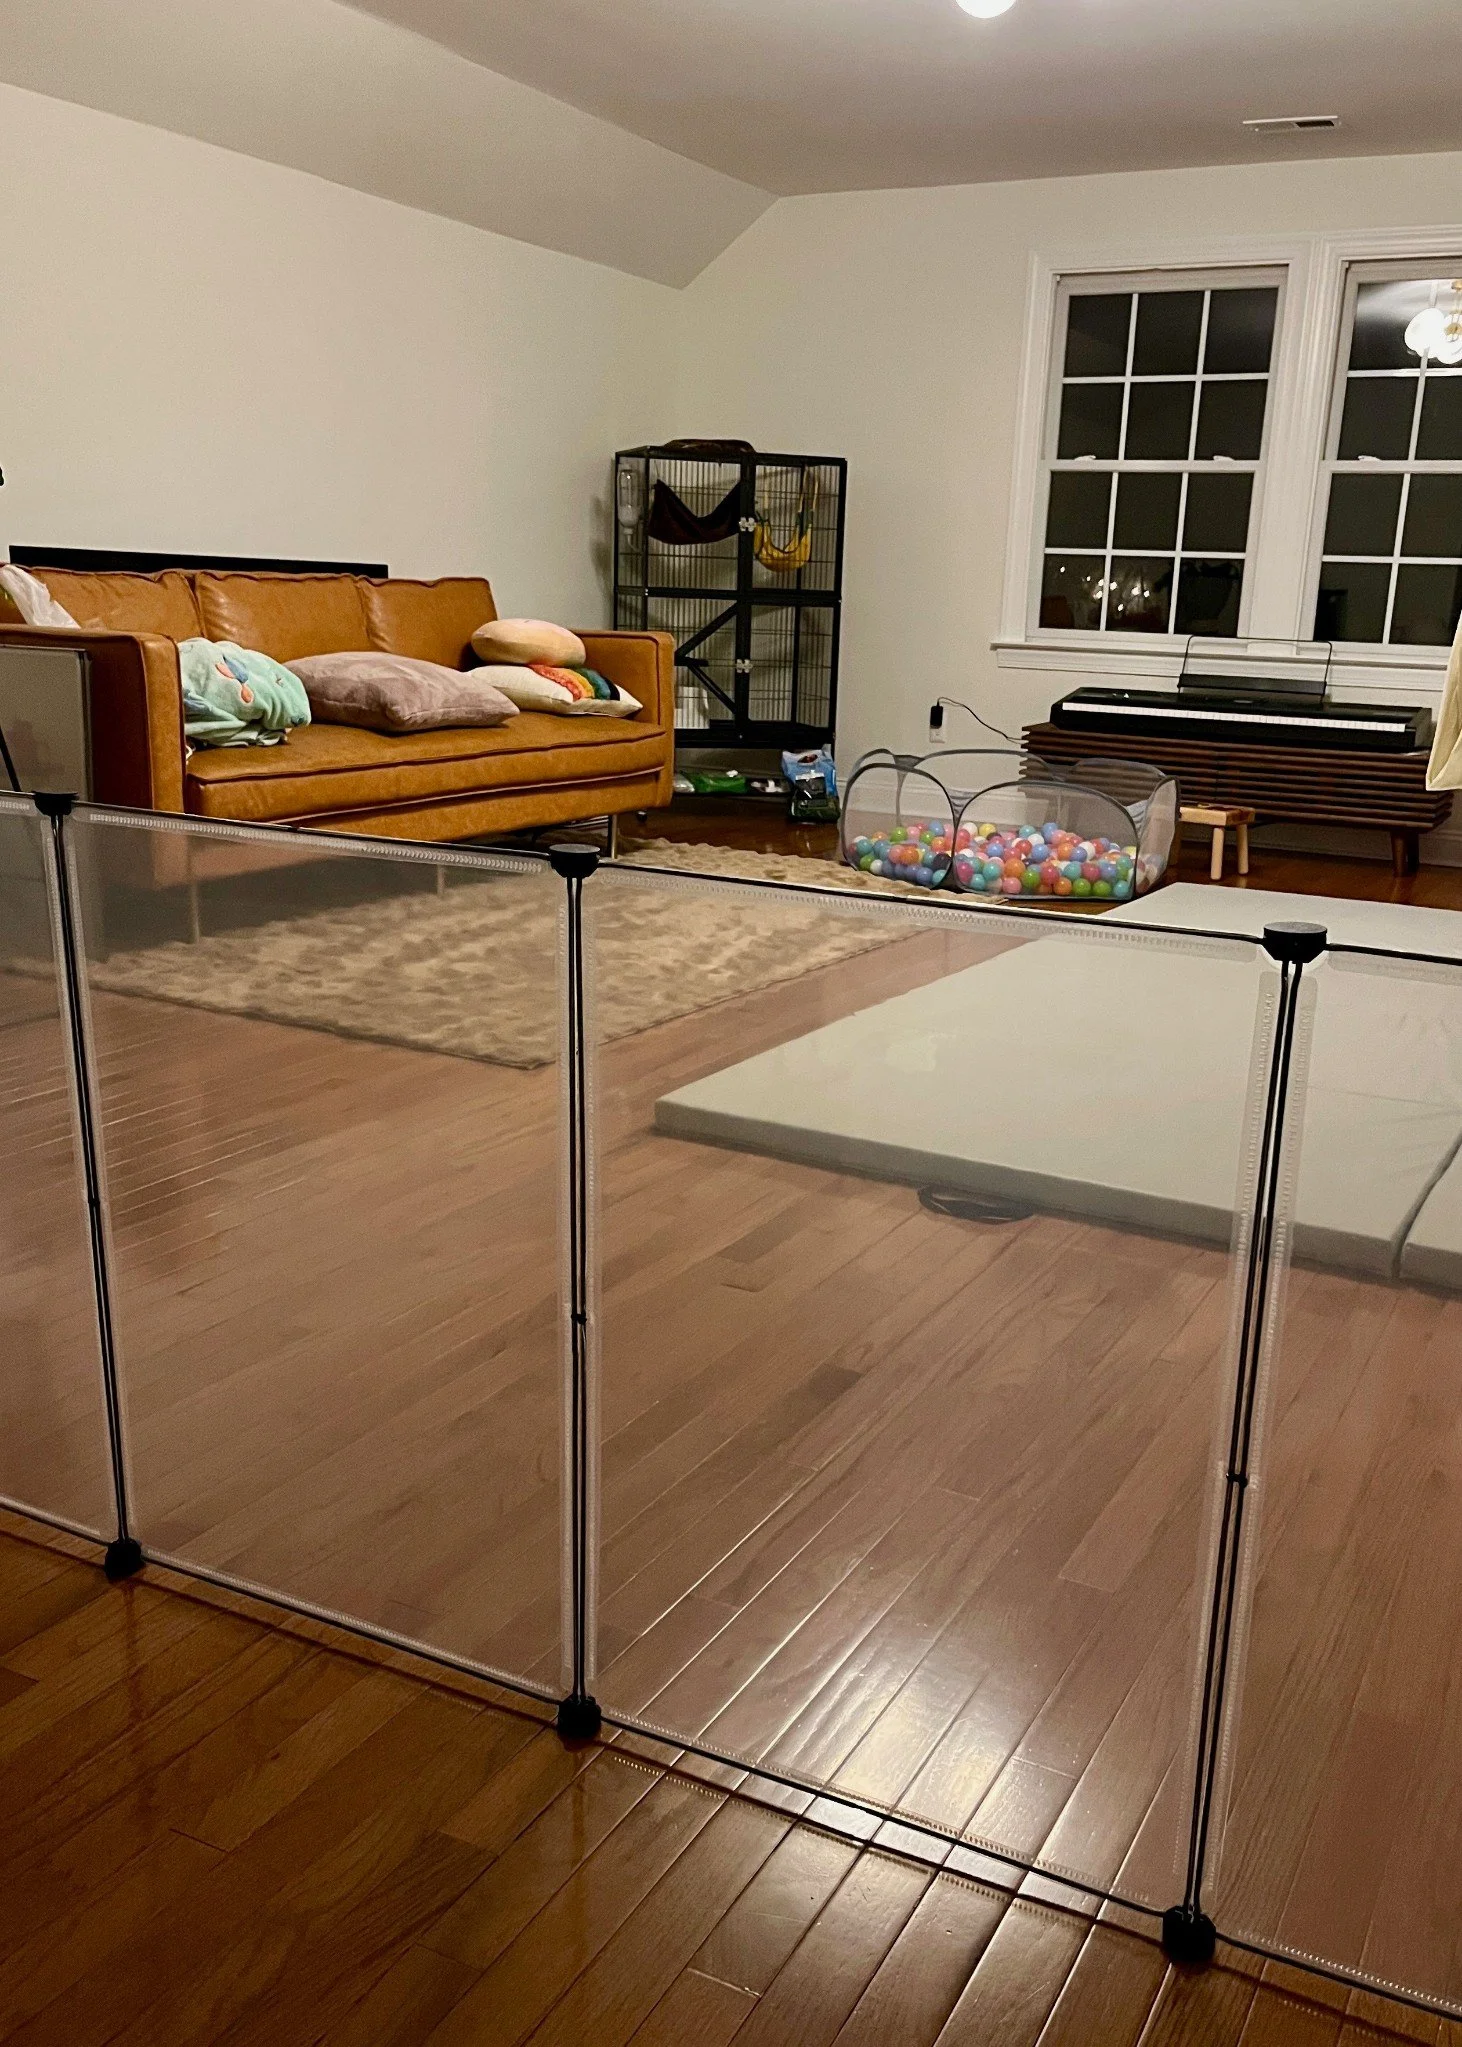


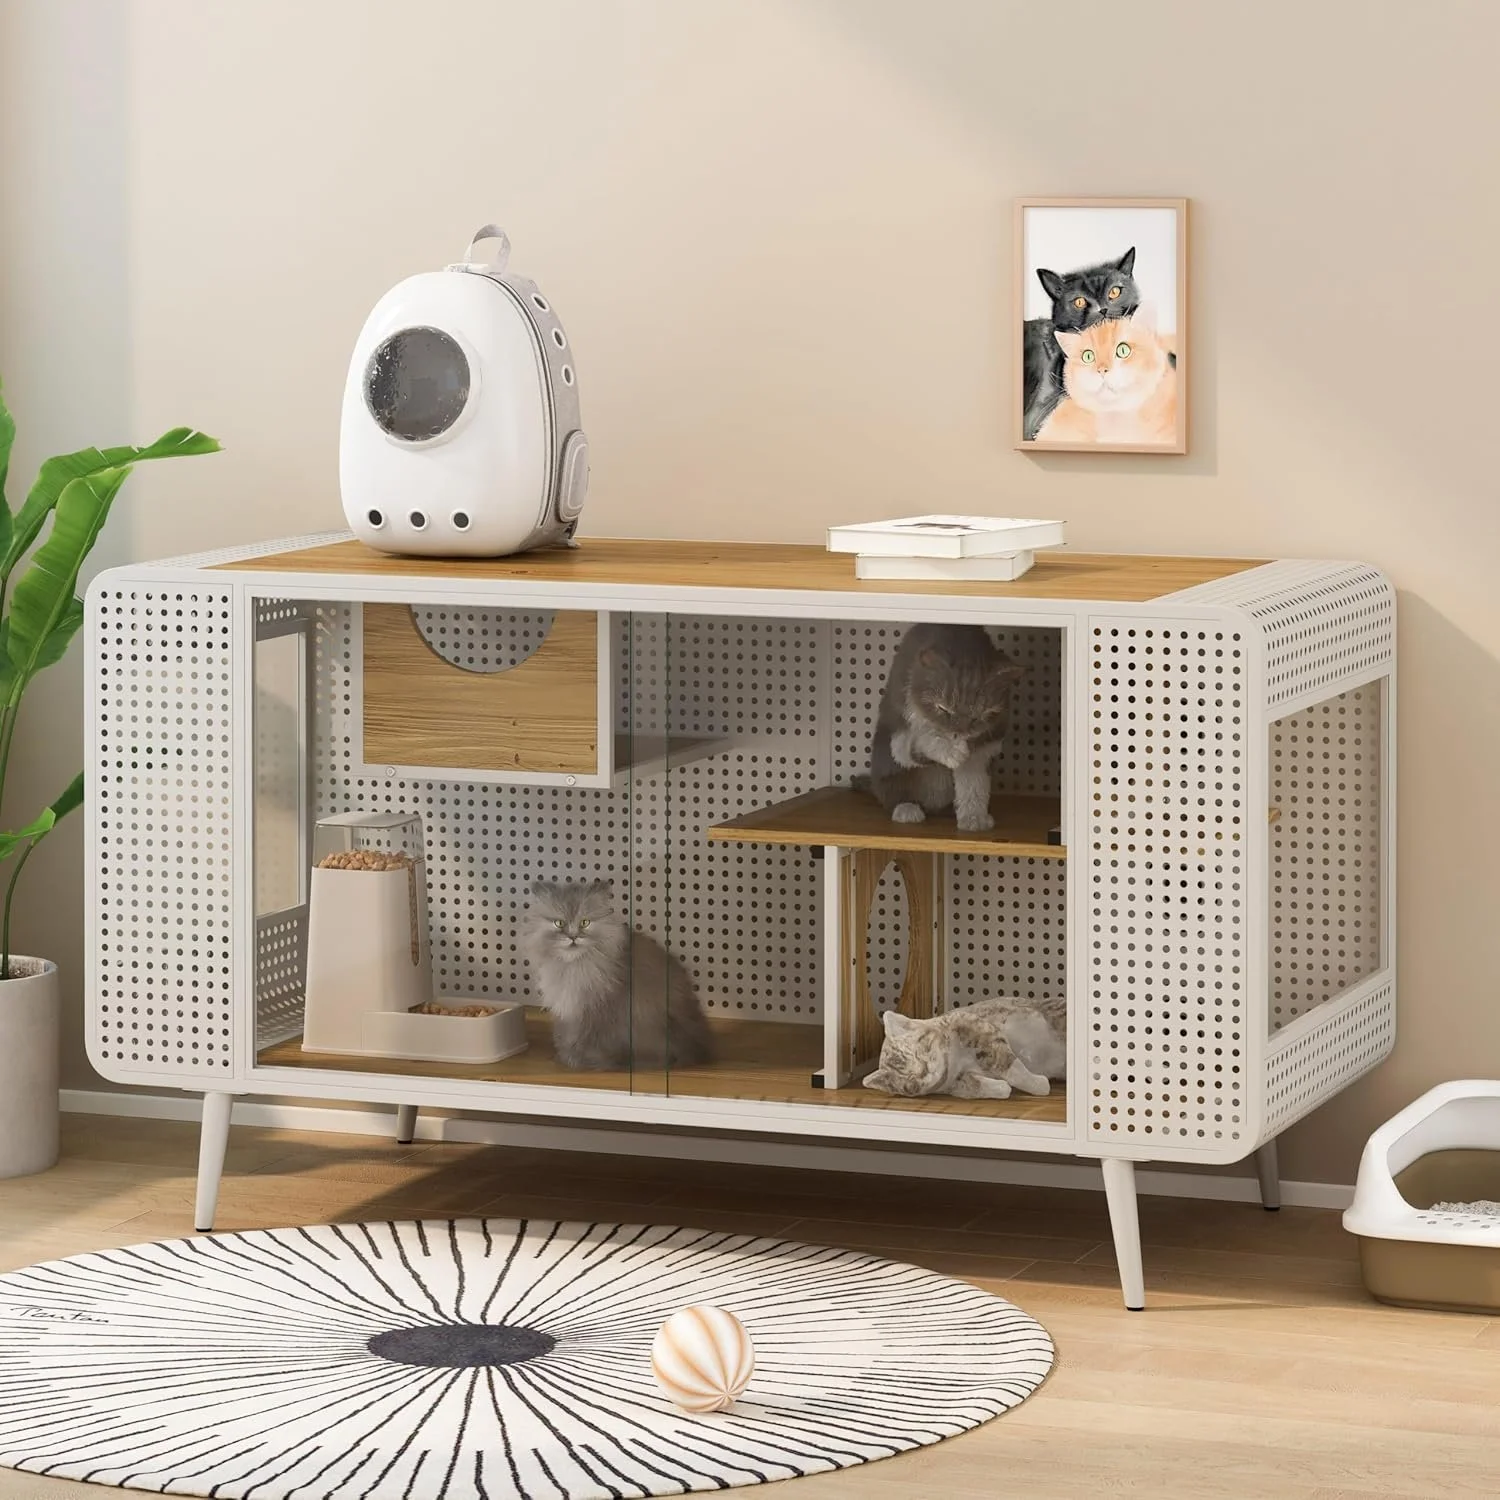
From b-o-r-i-n-g cage to delightful weasel triplex!
Key things:
1) Washable rugs!! I bought two and I swap them out weekly.
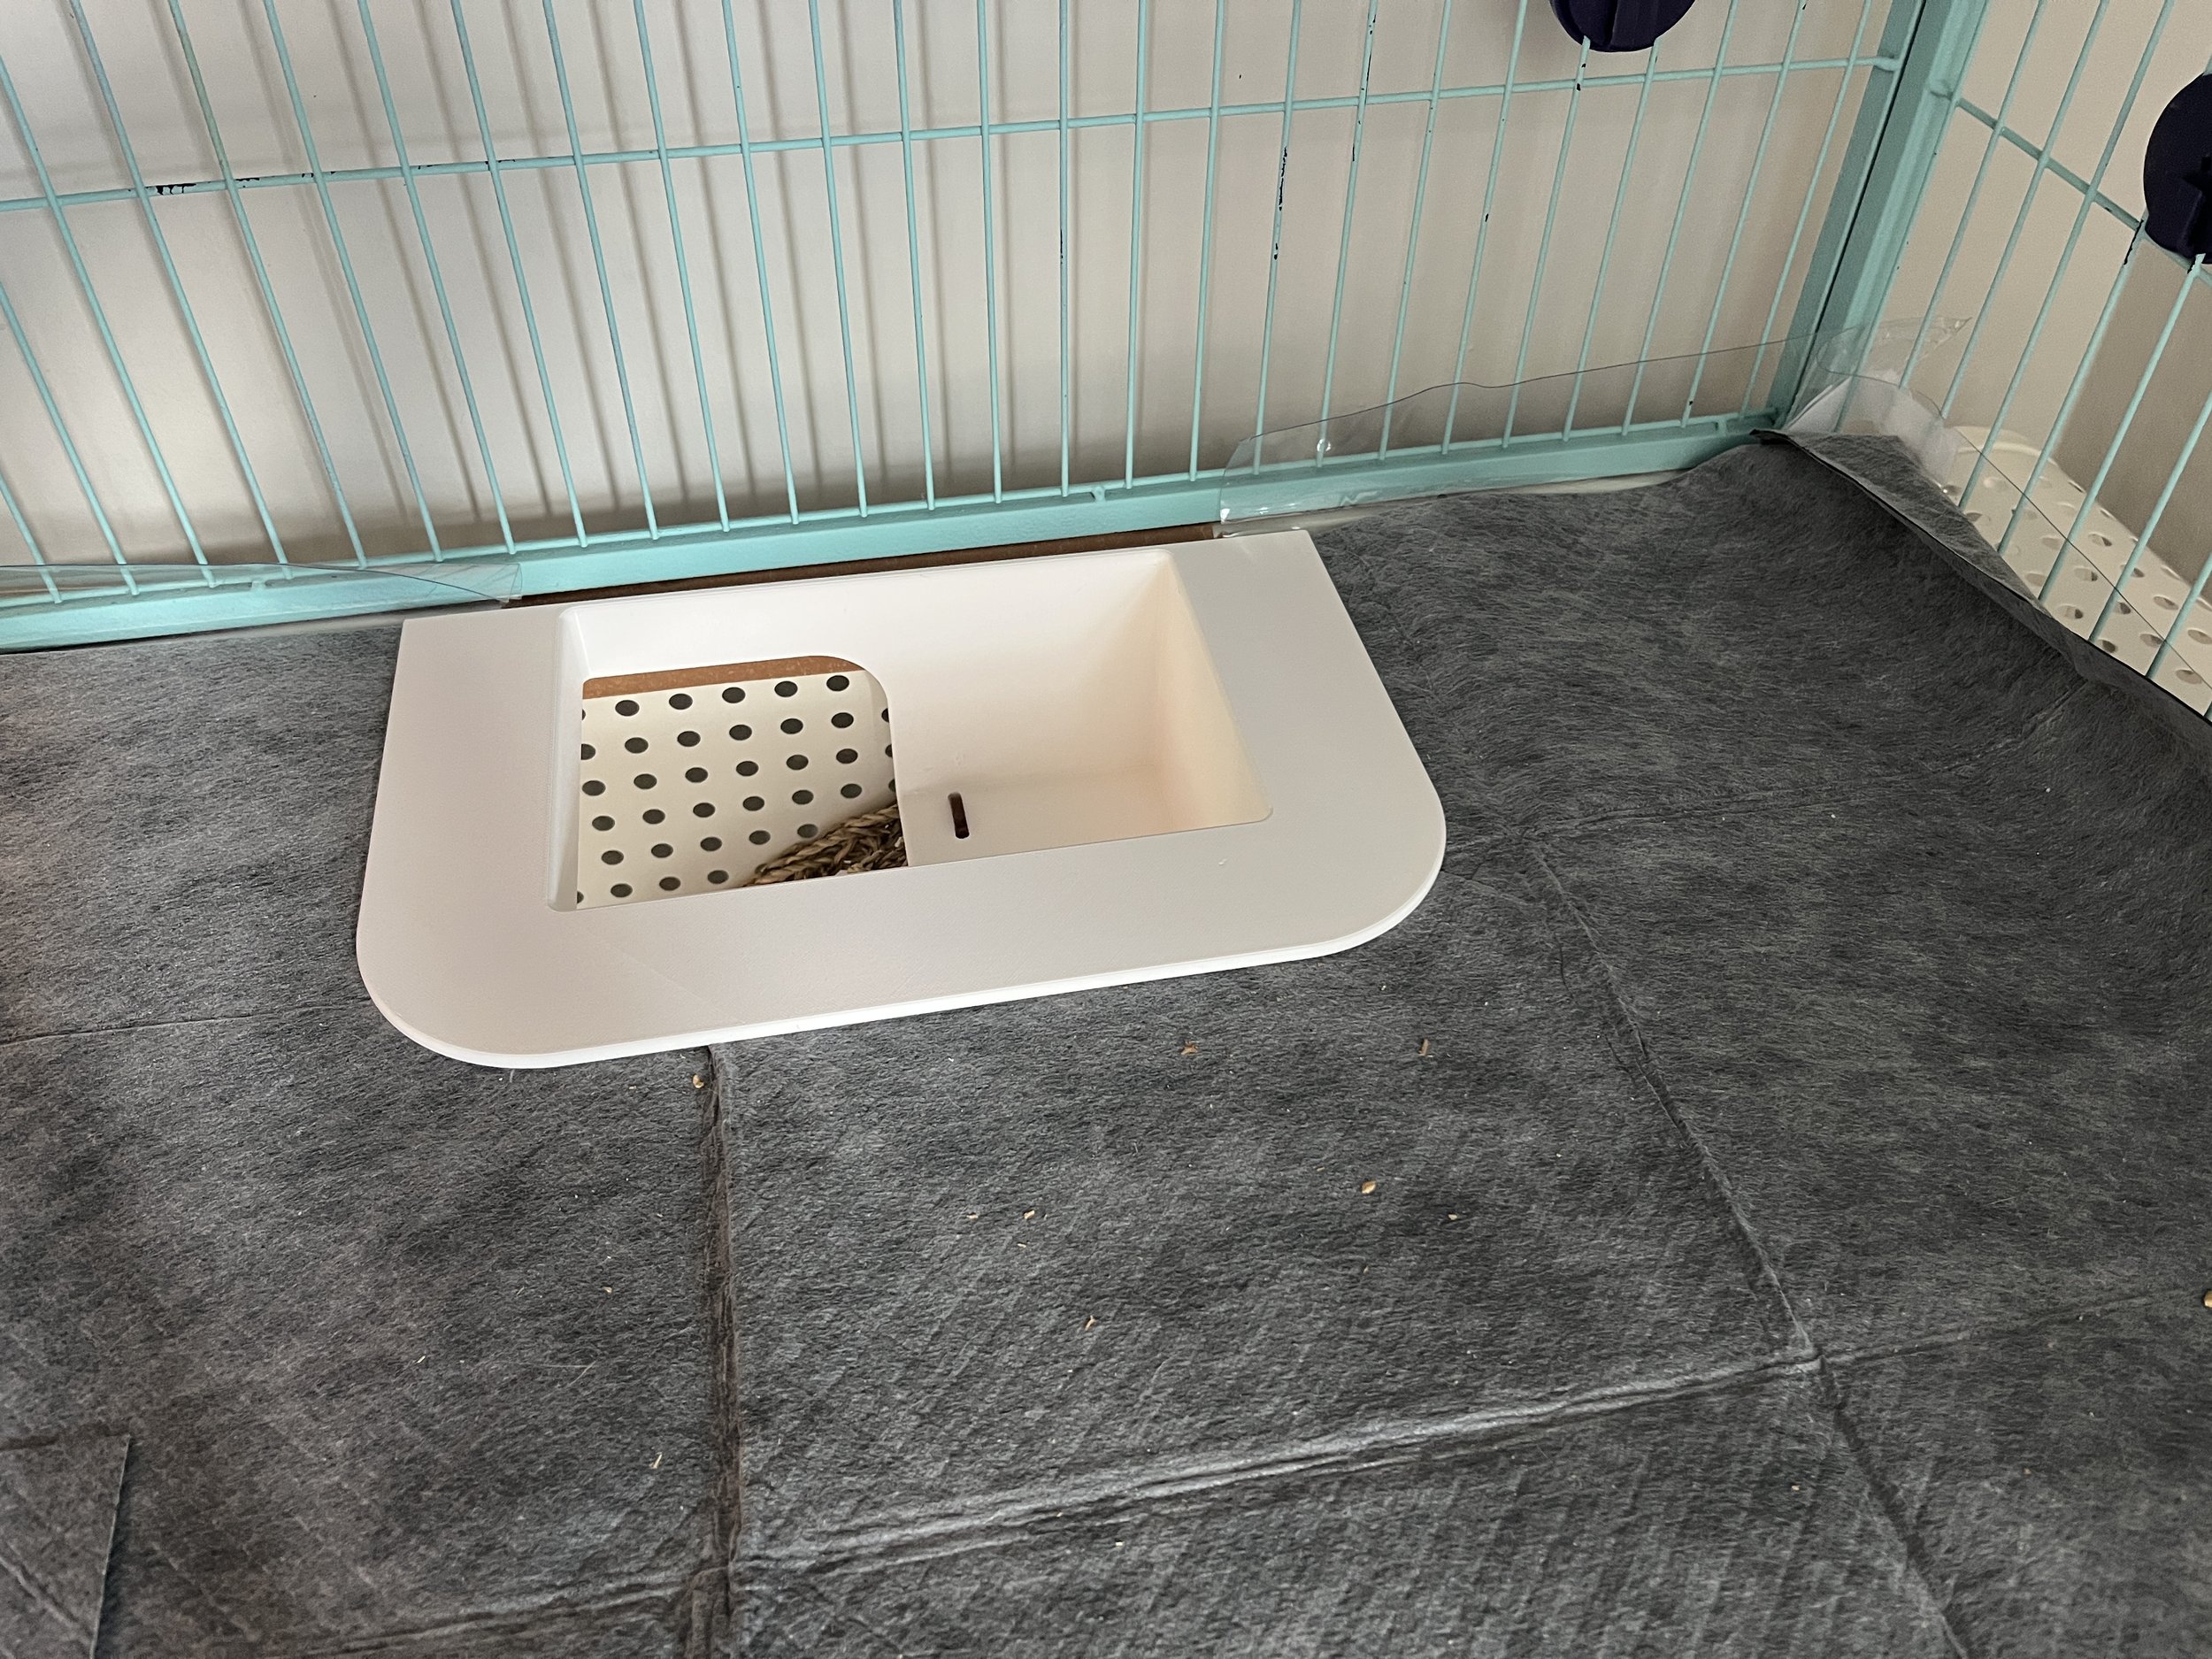
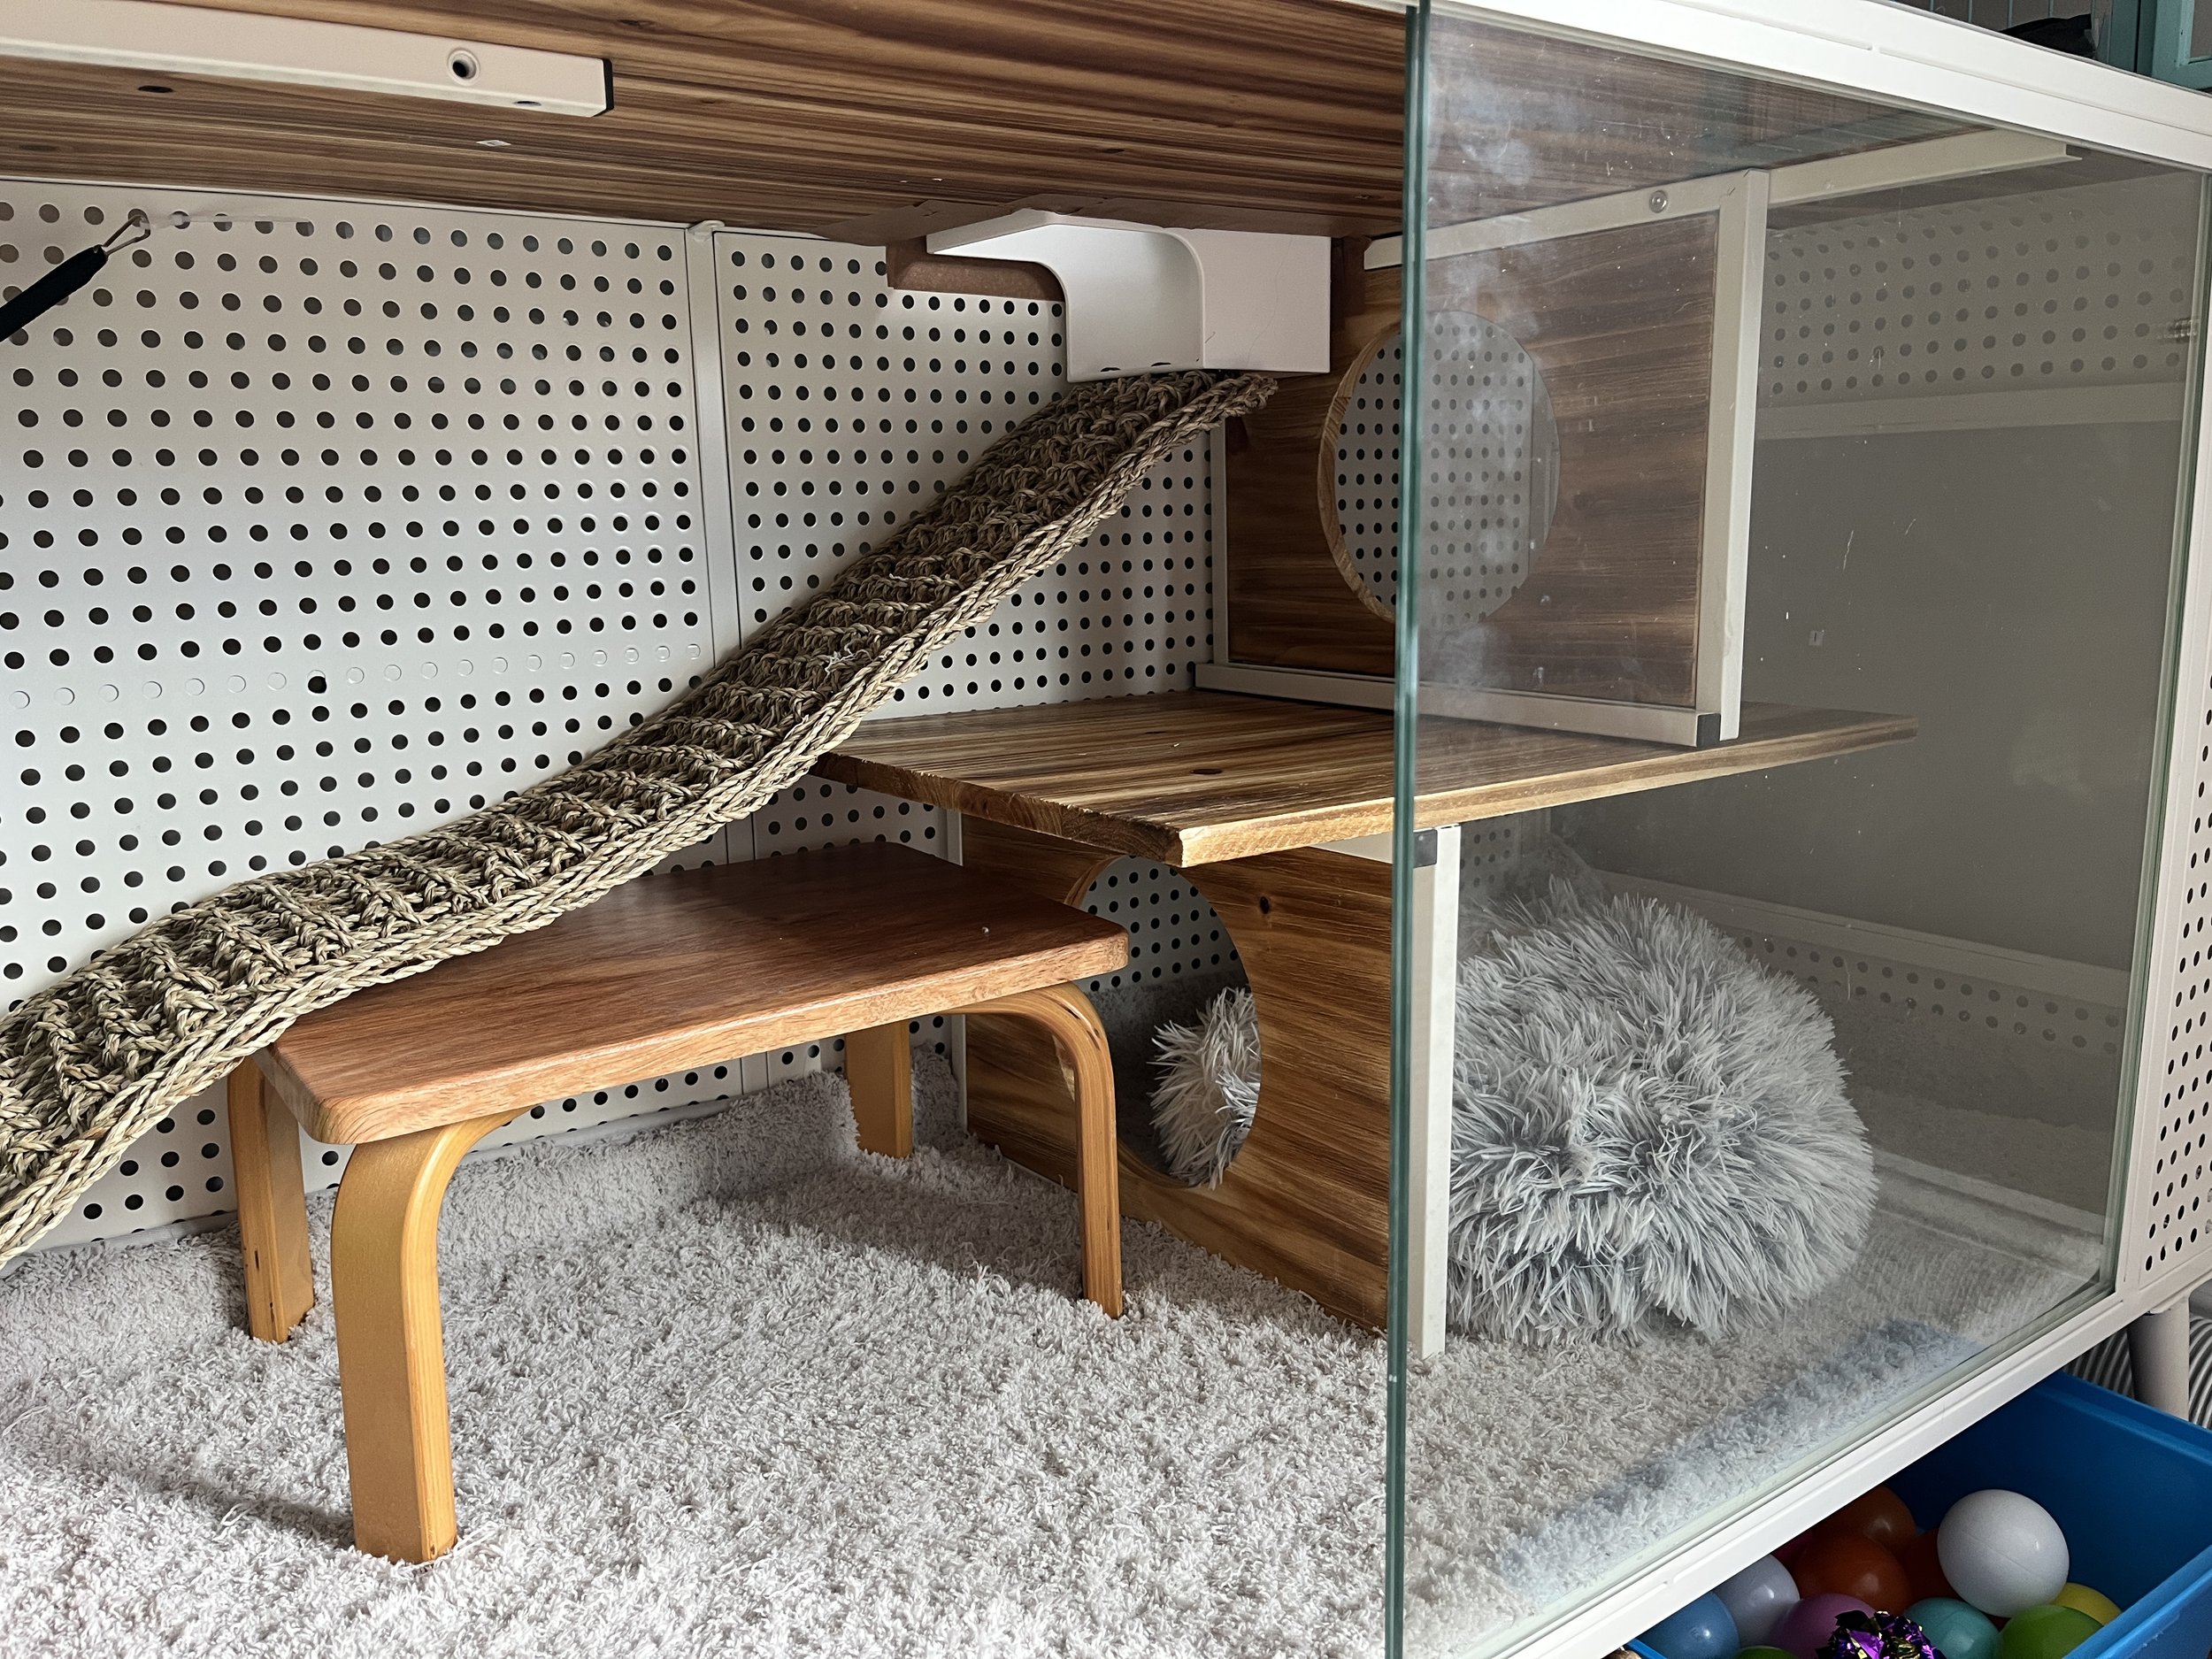
2) The ‘bottom level’ of my ferret tripex is actually a “cat house” (I did not even know that was a thing prior to this project). The top surface was just a simple piece of wood that I easily cut with a jigsaw to create the pass through between levels.
3) I 3D printed a part to drop into aforementioned hole to create a landing for their ramp to the bottom level.
4) The acrylic enclosure with gold edges…c’est magnifique. It was more expensive than other choices but it’s one of those things that elevates the entire look. There was a crossbar along the top of the door…we removed that and glued magnets to the door to make it easy for the kids to open/close without having to undo latches. Also…the magnets mean it stays CLOSED with little effort.
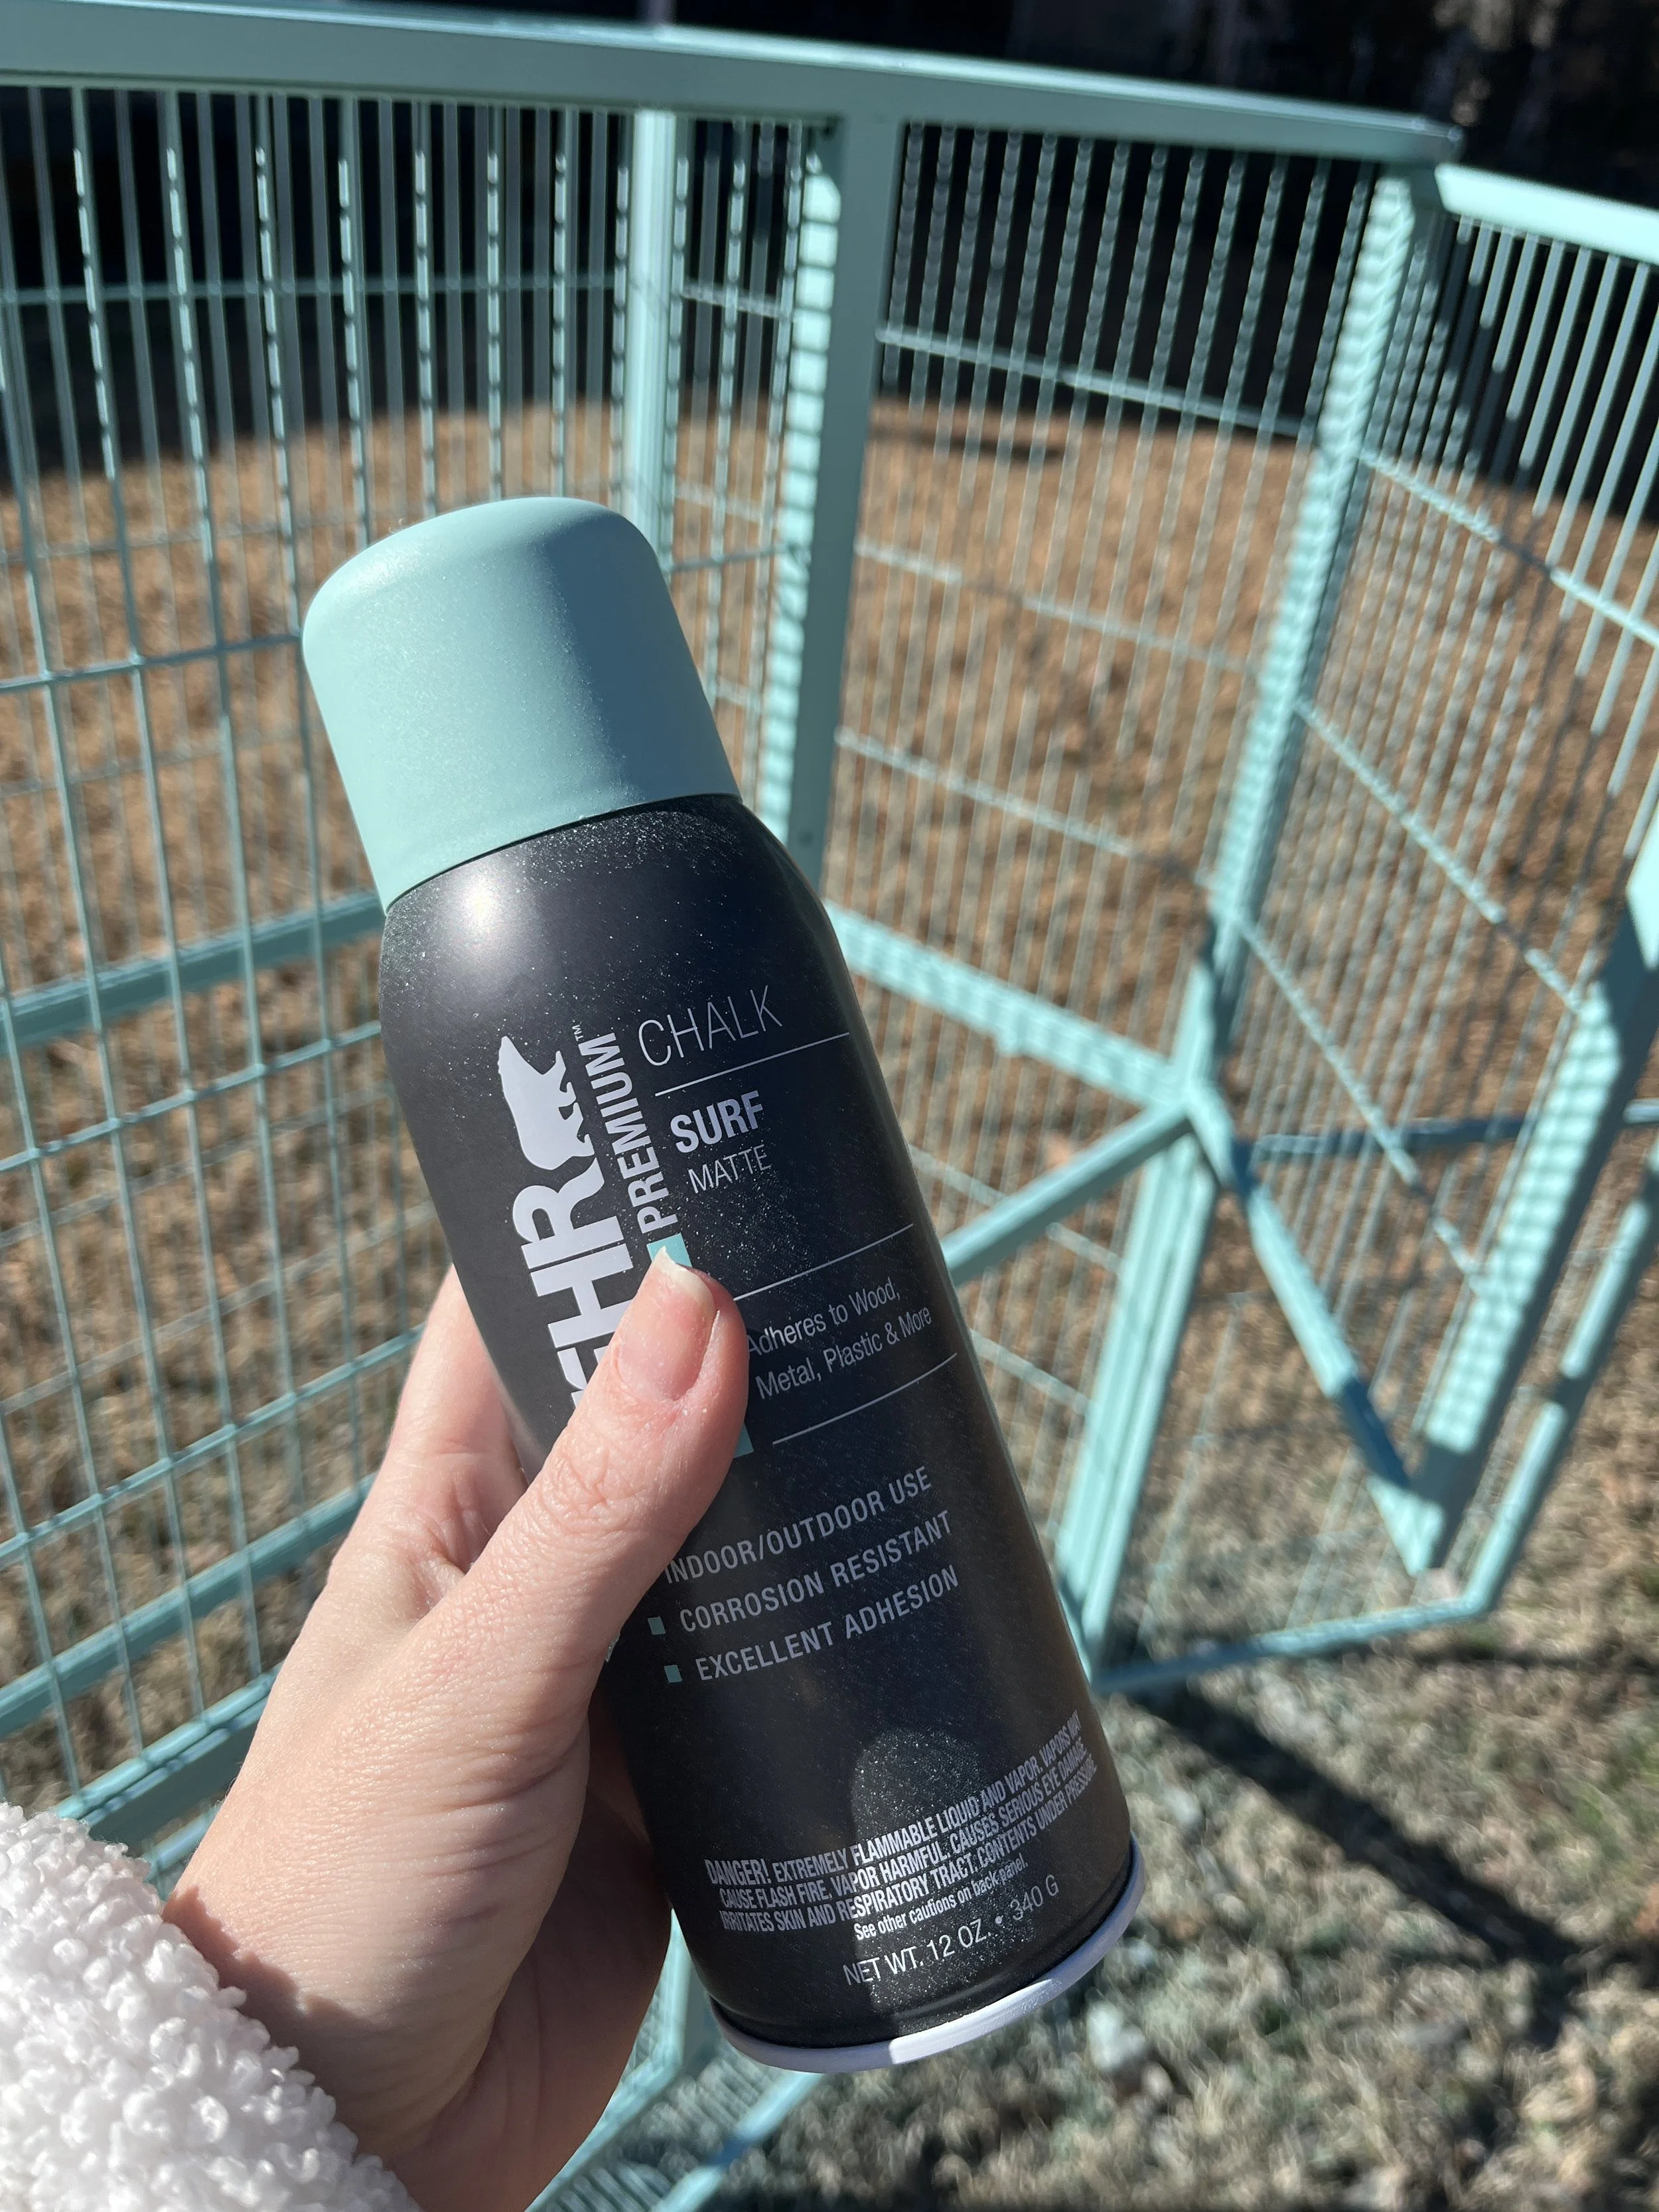
5) Yes, I spray painted the cage. I researched this beforehand and made the decision to do it, watch for chips and for biting and course correct if needed. 6 months later ther has been zero chipping and I’ve learned ferrets do not even attempt to knaw on the bars. The same is probably NOT true for pets like hamster or mice, so, please don’t do this with those animals.
Shop All The Things:
* Affiliate links